 Photoshop
 is an amazing tool and here at
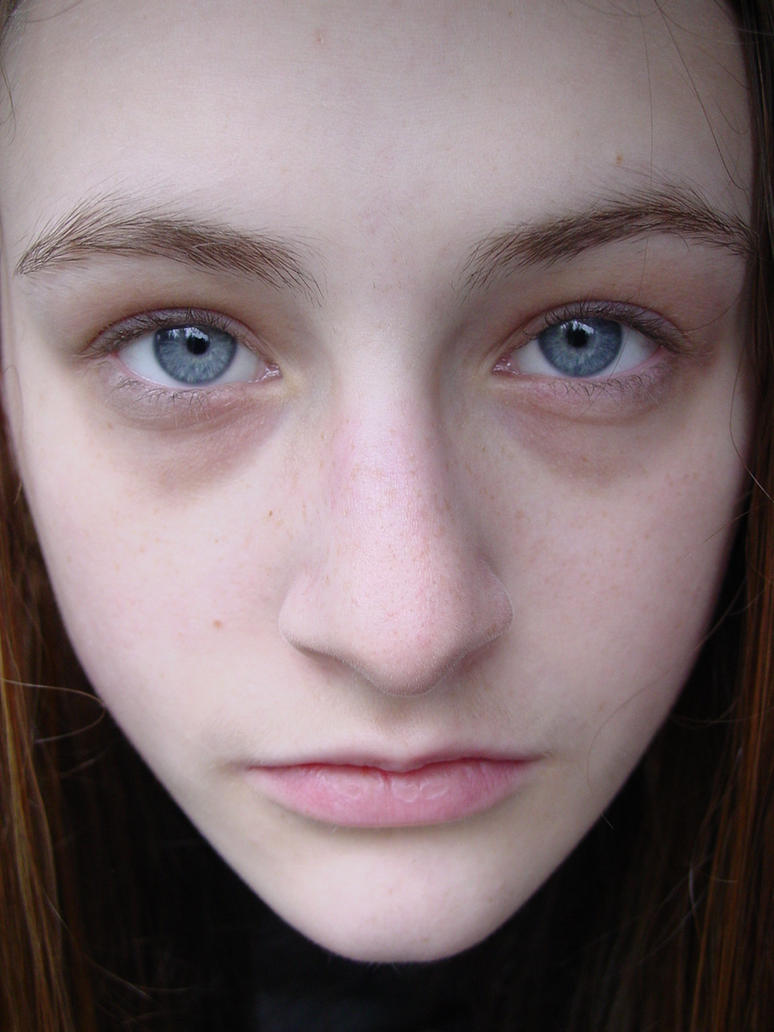
zeezed I'm going to teach you my own personal secret way of enhancing any photo with simple steps! First you will need to locate the photo you want to enhance, head shots work the best for this. Here is the photo I found online;

by
~PorcelainStockporcelainstock.deviantart.com/art/plain-face-49780353As you can see I selected a photo of the most natural looking, no makeup or any distractions in the background, as natural as it gets and quite beautiful. So lets start editing!
The first thing in
photoshop we need to tackle is the bags under her eyes,
unfortunately if you're a normal person you never get enough sleep in a day and these bags will
develop. So how do we take them out?
Stamp Tool! Which is located at the left tool bar or you can press
(s).
While holding down ALT select right under the dark area (
Be sure to have a soft brush selected! ) and slowly start removing the darkness under the eye by clicking
multiple times ( if you're new to this tool try messing around at first in another document to get use to it ). This is what I got:


By the way I have my clone brush settings to this:

So now that we're done the biggest "problem" of this photo we need to start editing the skin tones! The easiest thing ever!
Make a new layer. ( name doesn't matter )
Go to your brush tool.
Select the color #f2d1a6 ( this may vary with different skin colors ). The reason I picked this skin flesh color is because its bright and will lighten up the skin.
Apply color all over the face like so;

and now change the layer blending mode to soft light.Take a your
eraser tool and use a soft brush to remove anything that isn't the face, it should look like this:

Repeat this step for the eyes( switch the color to a brighter color of
their eye color ). Then change the opacity of the layer to make it look natural. and you're done! You can further edit it with an adjustment layer, which I did to get a more enhanced look:

Once again I really urge you to check out :
There are
a lot of great stock photos!
I hope you liked my tutorial, this was written strictly for Zeezed and you have no right to use this without permission. If you would like to use this tutorial please contact me.


